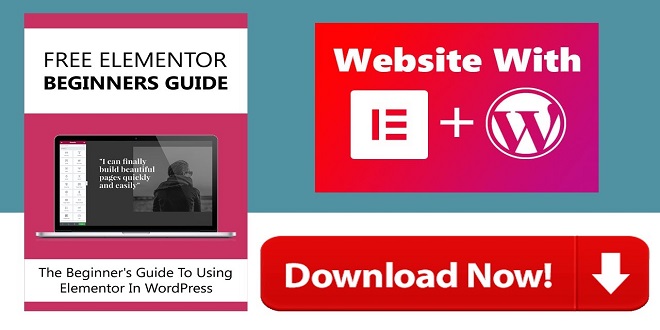
Elementor is a simple and versatile plugin for WordPress. Elementor is a simple plugin that can be used to create a website. The WordPress plugin store has this plugin available for free.
Are you a beginner in digital marketing? These plugins make it easy to edit your website.
This article will describe the basics of Elementor widgets, for beginners.
Installing Elementor
Two ways to install the Elementor in WordPress are available.
Method 1 Go to the Elementor website, and you can directly download the zip file with a registered account.
Method 2 You can download the Elementor plug-in from the WordPress plugin store. It’s free to download.
The drag-and-drop interface of Elementor plugin allows users to customize websites in any way they like. Elementor includes 500 digital assets that can be customized. You can access your website from anywhere with Elementor, even without knowing any programming languages.
The Elementor plugin allows users to customize websites using drag-and-drop interfaces. Elementor includes 500 digital assets that can be customized. Elementor allows you to modify your website without the need for programming languages. The Elementor plugin can be a great addition to your blog’s charm.
What widgets are included in Elementor?
Elementor offers many assets with both paid and free options. We have listed the most basic widgets.
Sections
Columns
Widgets
Heading
Image
Text Editor
Video
Button
Divider
Icon
Spacer
Google Maps
1. Elementor Structure
All sections and columns need to be in a well-designed structure. Structures can be used to easily separate sections. Elementor has built-in structures.
2. Editing sections, columns, and elements in Elementor
Before you can use the Elementor, it is important to understand the differences between a section or a column. You can add columns to the section by using the plus (+) symbol.
3. Padding and setting Margins
After you have created a column, you can adjust the column margin and padding to suit your website design .
Margins –Margins refers to the outer space surrounding your element.
Padding –Padding refers to the inside space within your element.
4. Change Font Size and Color
Elementor will display the customize panel to the left side of the section or column you clicked when you click on it. To colorize your part, you can click the icon. Each section already has a default colour. You can also change the color of your section with a color picker.
5. Elementor allows you to change the fonts and typography of your website.
To change the font style, size, and color, click on the Typography link. You can manage all font customization options with the Elementor.
6. Setting the Background
Click the section to reveal the Edit Section link. You can then choose from the styleselect Background options in Elementor panels. You can then do background activities such as image overlay, gradient, and many more.
7. Device View
Click the ” Responsive Mode” button. After the responsive mode is enabled, the browser will display the device options at the top of the page.
Elementor offers a variety of device views for your business website. You can view your website view on desktop, mobile, or tab view. This option can be found at the top and bottom of each page. You can simply click on the icons to adjust your site view.
8. Elementor allows you to publish pages
After you are done editing your website click the publish button.
Conclusion
This article focuses on the Elementor’s basic elements, and not the more advanced features. This blog provides a tutorial on how to use Elementor for beginners.
Read More: Naasongs